2. Getting started on hardware (Arduino)
emlearn works on any hardware that has C99 support. One very easy way to start testing it out is using the Arduino platform.
2.1. Prerequisites
Ensure that you have emlearn setup as per the Getting started on PC (Linux/MacOS/Windows).
You will also need to have the Arduino IDE installed, and some Arduino-compatible hardware.
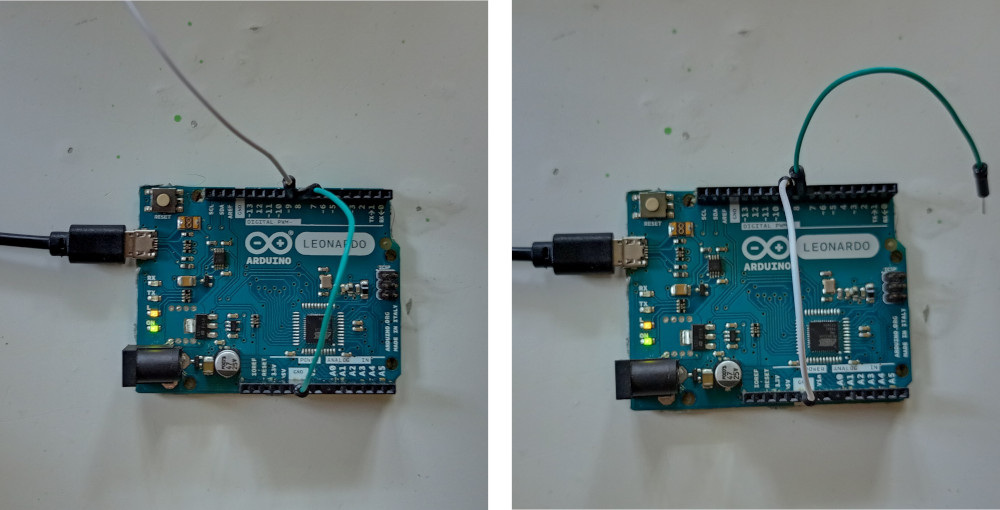
Any Arduino compatible board should work,
as the code only uses basic I/O functions such as digitalRead() / analogRead() and digitalWrite().
2.2. Create Arduino project
To run our model we use a simple Arduino sketch. It reads data from digital/analog inputs, and shows the output of the model on a LED.
Open the Arduino IDE, and create a new sketch.
Save the sketch to a folder, for example emlearn_helloworld_xor.
Replace the sketch code in the Arduino IDE with the contents of the following.
 1
 2#include "xor_model.h"
 3
 4const int ledPin = LED_BUILTIN;
 5const int digitalPinA = 9;
 6const int digitalPinB = 8;
 7const int analogPinA = A1;
 8const int analogPinB = A2;
 9
10
11void setup() {
12  pinMode(ledPin, OUTPUT);
13  pinMode(digitalPinA, INPUT_PULLUP);
14  pinMode(digitalPinB, INPUT_PULLUP);
15}
16
17// Read values into range 0-255
18uint8_t readAnalog(const int pin) {
19    return analogRead(pin) / (1023/255);
20}
21uint8_t readDigital(const int pin) {
22    return digitalRead(pin) ? 255 : 0;
23}
24
25
26void loop() {
27
28#if 1
29  // use digital pins
30  const uint8_t a = readDigital(digitalPinA);
31  const uint8_t b = readDigital(digitalPinB);
32#else
33  // use analog pins
34  const uint8_t a = readAnalog(analogPinA);
35  const uint8_t b = readAnalog(analogPinB);
36#endif
37  const int16_t features[] = { a, b };
38
39  const int32_t out = xor_model_predict(features, 2);
40
41  if (out < 0) {
42    Serial.println("ERROR");
43  } else {
44    Serial.print("Output class:");
45    Serial.println(out);
46  }
47  digitalWrite(ledPin, out == 1 ? HIGH : LOW);
48  delay(100);
49}
Wait with compiling, as we will need the generated C code from the next step.
2.3. Create model in Python
We will train a simple model to learn the XOR function.
Copy and save this as file xor_train.py.
 1import emlearn
 2import numpy
 3from sklearn.ensemble import RandomForestClassifier
 4from sklearn.metrics import get_scorer
 5
 6# Generate simple dataset
 7def make_xor(lower=0.0, upper=1.0, threshold=0.5, samples=100, seed=42):
 8    rng = numpy.random.RandomState(seed)
 9    X = rng.uniform(lower, upper, size=(samples, 2))
10    y = numpy.logical_xor(X[:, 0] > threshold, X[:, 1] > threshold)
11    # convert to int16 with a 8 bit range. [0.0-1.0] -> [0-255]
12    X = (X * 255).astype(numpy.int16)
13    return X, y
14
15X, y = make_xor()
16
17# Train a model
18estimator = RandomForestClassifier(n_estimators=3, max_depth=3, max_features=2, random_state=1)
19estimator.fit(X, y)
20score = get_scorer('f1')(estimator, X, y)
21assert score > 0.90, score # verify that we learned the function
22
23# Convert model using emlearn
24path = 'xor_model.h'
25cmodel = emlearn.convert(estimator, method='inline')
26cmodel.save(file=path, name='xor_model')
27print('Wrote model to', path)
Run the script
python xor_train.py
It will generate a file xor_model.h containing the C code for our model.
2.4. Copy model files into Arduino
Copy the xor_model.h file into your sketch folder.
2.5. Install emlearn as Arduino library
Run the following code to install the emlearn library
into the Arduino library folder.
python -m emlearn.arduino.install
It should output something like “Installed emlearn to C:\UsersmeDocumentsArduinolibrariesemlearn”. Note that the exact path will vary based on your username and operating system.
2.6. Build and upload the code
Now that the sketch code and the included files are in place, you can do Upload in the Arduino IDE.
2.7. Test it out
The XOR function, if one and only one input is true, should get class 1 as output - else class 0.
In our XOR training data input values above 0.5 is considered “true”.
For an analog pin that means above halfway in its voltage range.
For a digital pin there are only two possible states. High is true, and low is false.
The following should output 1 (LED on)
A     B
high  low
low   high
The following should output 0 (LED off)
A     B
high  high
low   low

2.8. Next
Now that you have tested emlearn on some real hardware, you are ready to develop your application for your particular hardware.